
How it works
From setup to unlock, with nothing left unclear.
Six setup steps, then an unlock that tells you exactly what has been validated and what remains to be proven.
Setting up
Order matters: the password and recovery come before hardening.
- Install the Windows application and set your password — it is the mandatory fallback method.
- Choose the protection mode on Home: Standard, Hidden background, or Discreet.
- Set automatic protection and, if you want, a shortcut to protect the screen instantly.
- Add your other methods: security key, trusted device, recovery media.
- Create recovery media and store it somewhere other than inside the computer.
- Finally choose the protection level from registered families; their presence will be evaluated at unlock.
What happens when you step away
- The inactivity delay elapses, or you trigger protection yourself.
- The screen enters the chosen mode and the application intercepts keyboard and mouse.
- State stays visible from a paired device authorized to view status.
- The activity log stays local. Companion features and update checks use their network connections.
Taking back control
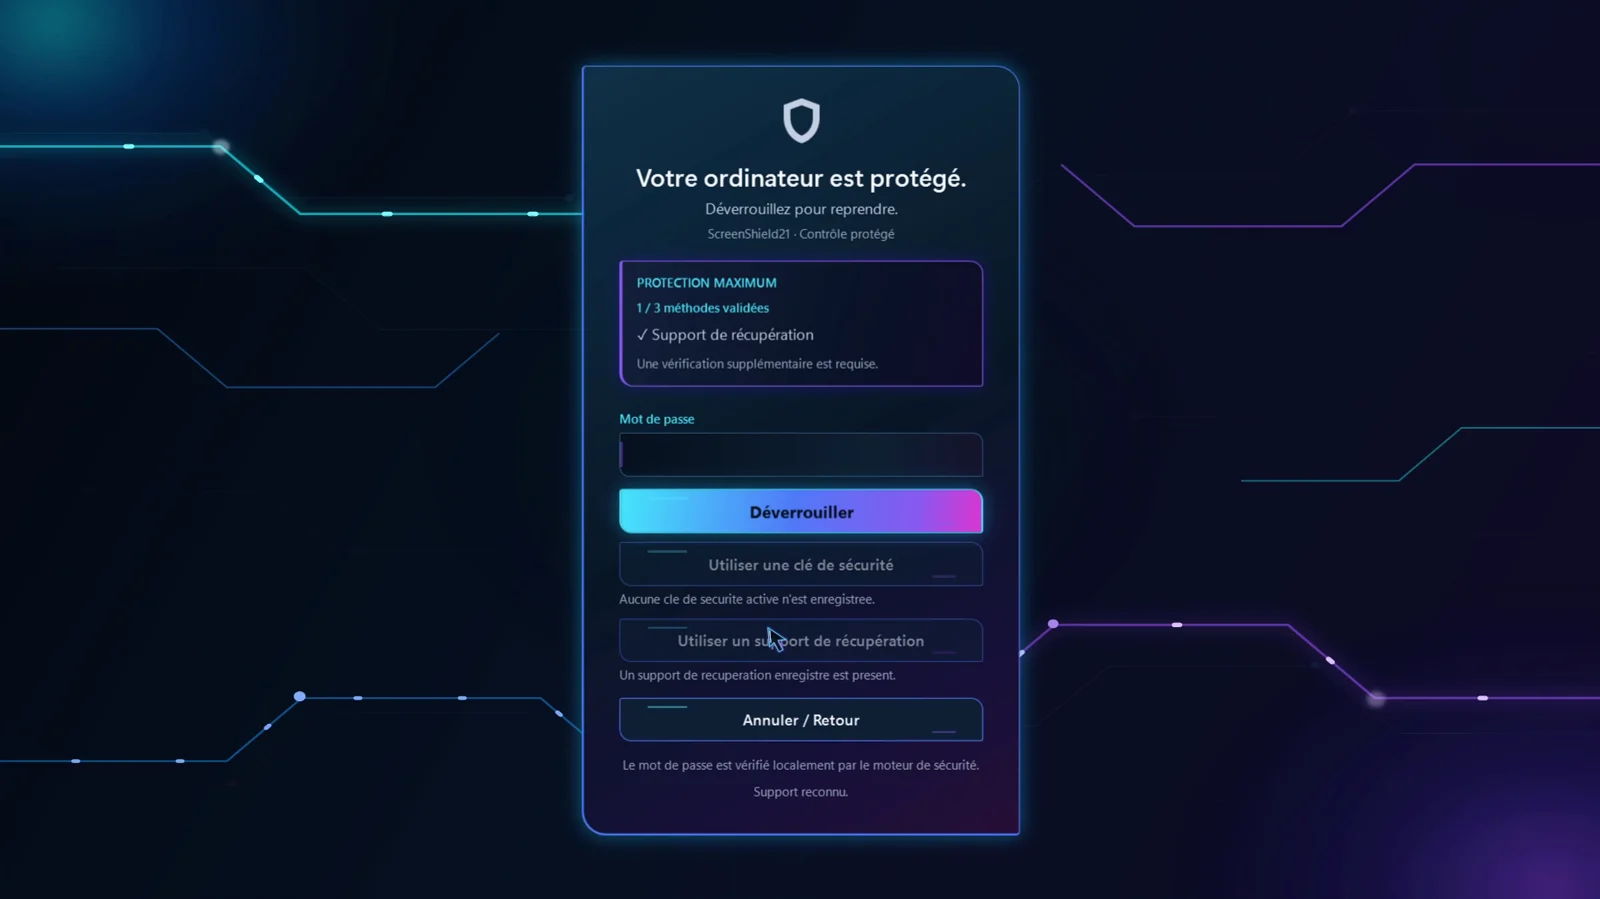
The unlock screen announces the required level, counts the methods already validated, and offers only what is genuinely available.
- The “x / y methods validated” counter shows where you stand.
- You freely choose the order of the available methods.
- Cancelling clears the attempt's proofs and leaves the computer safely locked.
- The password is still offered if another method fails.
The situations that are planned for
You lost a method
Recovery media and the password remain recovery paths prepared in advance.
Learn moreSomeone needs one-off access
A QR code opens the Web Companion without installation. The approved duration and revocation from the PC determine how long access remains valid.
Learn moreYou are not at the PC
A paired phone can view status, lock, or request an unlock according to its permissions.
Learn moreYou want to close the application
Quitting stops keyboard and mouse protection: authentication is required before closing is authorized.
Learn moreThe connection dropped
A paired device finds the PC again after an interruption, with explicit connection states.
Learn moreA device should no longer be used
Suspend it, or revoke trust: revoking requires a new pairing to come back.
Learn more